Operationalize ML Scoring with Azure ML and Data Factory
Exercise 4: Operationalize ML scoring with Azure ML and Data Factory
Duration: 20 mins
Synopsis: In this exercise, you will extend the Data Factory to operationalize the scoring of data using the previously created Azure Machine Learning (ML) model.
Task 1: Create Azure ML Linked Service
-
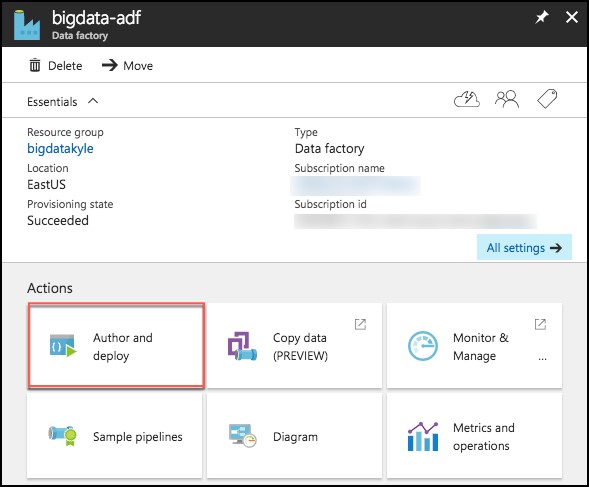
Return to the Azure Data Factory blade in the Azure portal
-
Select Author and Deploy below Actions.
-
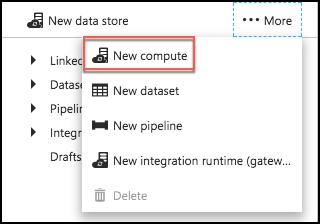
On the Author and Deploy blade, select …More, the select New Compute.
-
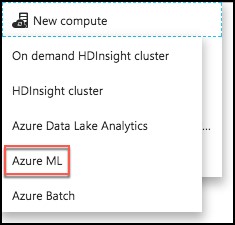
Select Azure ML from the New Compute list.
-
In the new window, replace the contents of the file with the following JSON.
- Back in Exercise 1, Task 9, you left your ML Web Service’s Consume page open. Return to that page, and copy and paste the following values into the JSON below.
- The value of mlEndpoint below is your web service’s Batch Request URL, remember to **remove the query string (e.g., “?api_version=2.0”).
- apiKey is the Primary Key of your web service.
- Your tenant string should be populated automatically.
- Delete the other optional settings (updateResourceEndpoint, servicePrincipalId, servicePrincipalKey).
{
"name": "AzureMLLinkedService",
"properties": {
    "type": "AzureML",
    "description": "",
    "typeProperties": {
        "mlEndpoint": "<Specify the batch scoring URL>",
        "apiKey": "<Specify the published workspace model’s API key>",
        "tenant": "<Specify your tenant string>"
                        }
                }
}
-
Select Deploy.

Task 2: Create Azure ML input dataset
-
Still on the Author and Deploy blade, select …More again.
-
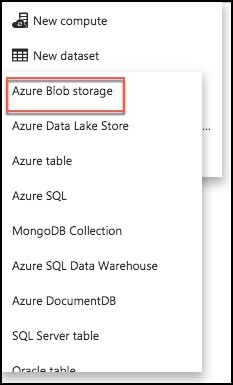
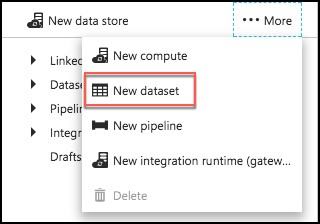
To create a new dataset that will be copied into Azure Blob storage, select New dataset from the top.

-
Select Azure Blob storage from the list of available datasets.
-
Replace the JSON text in the draft window with following JSON.
{
    "name": "PartitionedBlobInput",
    "properties": {
        "published": false,
        "type": "AzureBlob",
        "linkedServiceName": "BlobStorageOutput",
        "typeProperties": {
            "fileName": "FlightsAndWeather.csv",
            "folderPath": "sparkcontainer/FlightsAndWeather/{Year}/{Month}/",
            "format": {
                "type": "TextFormat"
            },
            "partitionedBy": [
                {
                    "name": "Year",
                    "value": {
                        "type": "DateTime",
                        "date": "SliceStart",
                        "format": "yyyy"
                    }
                },
                {
                    "name": "Month",
                    "value": {
                        "type": "DateTime",
                        "date": "SliceStart",
                        "format": "MM"
                    }
                }
            ]
        },
        "availability": {
            "frequency": "Month",
            "interval": 1
        },
        "external": true,
        "policy": {}
    }
}
-
Select Deploy.

Task 3: Create Azure ML scored dataset
-
Select …More again, and select New dataset.
-
Select Azure Blob storage from the list of available datasets.

-
Replace the JSON text in the draft window with following JSON.
{
    "name": "ScoredBlobOutput",
    "properties": {
        "published": false,
        "type": "AzureBlob",
        "linkedServiceName": "BlobStorageOutput",
        "typeProperties": {
            "fileName": "Scored_FlightsAndWeather{Year}{Month}.csv",
            "folderPath": "sparkcontainer/ScoredFlightsAndWeather",
            "format": {
                "type": "TextFormat"
            },
            "partitionedBy": [
                {
                    "name": "Year",
                    "value": {
                        "type": "DateTime",
                        "date": "SliceStart",
                        "format": "yyyy"
                    }
                },
                {
                    "name": "Month",
                    "value": {
                        "type": "DateTime",
                        "date": "SliceStart",
                        "format": "MM"
                    }
                }
            ]
        },
        "availability": {
            "frequency": "Month",
            "interval": 1
        }
    }
}
-
Select Deploy.

Task 4: Create Azure ML predictive pipeline
-
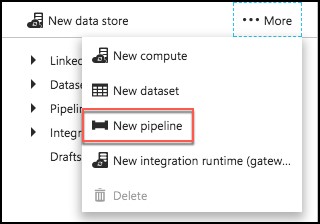
Select …More again, and select New pipeline.
-
Replace the JSON text in the draft window with following JSON.
{
    "name": "MLPredictivePipeline",
    "properties": {
        "description": "Use AzureML model",
        "activities": [
            {
                "type": "AzureMLBatchExecution",
                "typeProperties": {
                    "webServiceInput": "PartitionedBlobInput",
                    "webServiceOutputs": {
                        "output1": "ScoredBlobOutput"
                    },
                    "webServiceInputs": {},
                    "globalParameters": {}
                },
                "inputs": [
                    {
                        "name": "PartitionedBlobInput"
                    }
                ],
                "outputs": [
                    {
                        "name": "ScoredBlobOutPut"
                    }
                ],
                "policy": {
                    "timeout": "02:00:00",
                    "concurrency": 10,
                    "retry": 1
                },
                "scheduler": {
                    "frequency": "Month",
                    "interval": 1
                },
                "name": "MLActivity",
                "description": "prediction analysis on batch input",
                "linkedServiceName": "AzureMLLinkedService"
            }
        ],
        "start": "2017-03-01T00:00:00Z",
        "end": "2099-12-31T11:59:59Z",
        "isPaused": false,
        "pipelineMode": "Scheduled"
    }
}
-
Select Deploy.
Task 5: Monitor pipeline activities
-
Close the Author and Deploy blade, and return to the Data Factory overview.
-
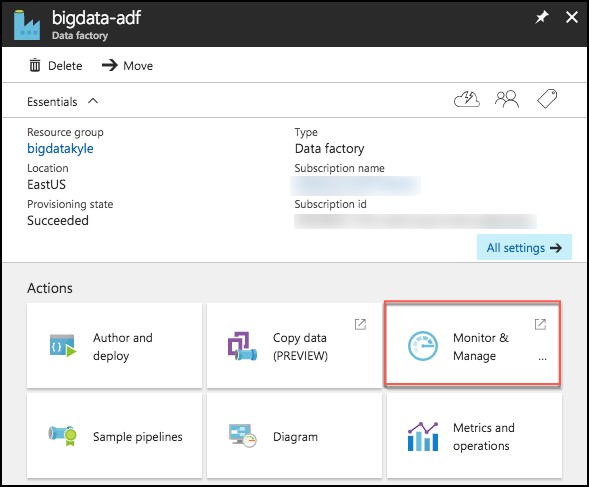
Select Monitor & Manage under Actions.
-
Once again, you may need to shift the start time in order to see the items in progress and ready states.

-
Close the Monitor & Manage browser tab.